

DecalFreakz
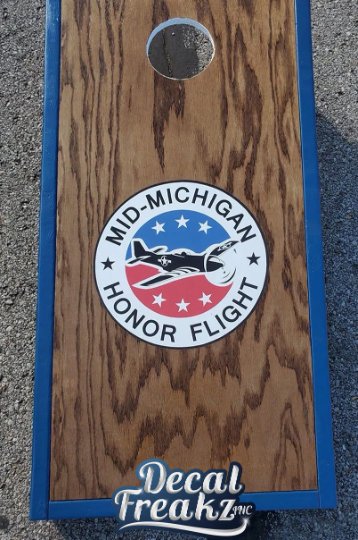
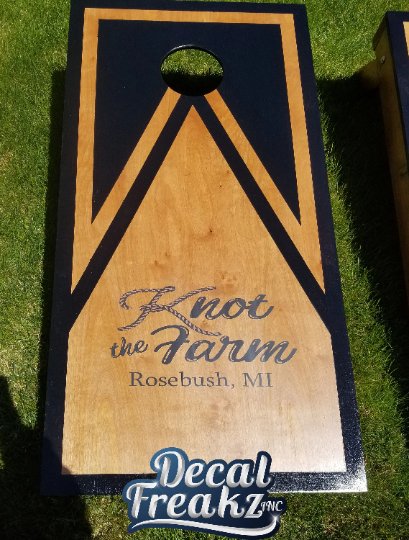
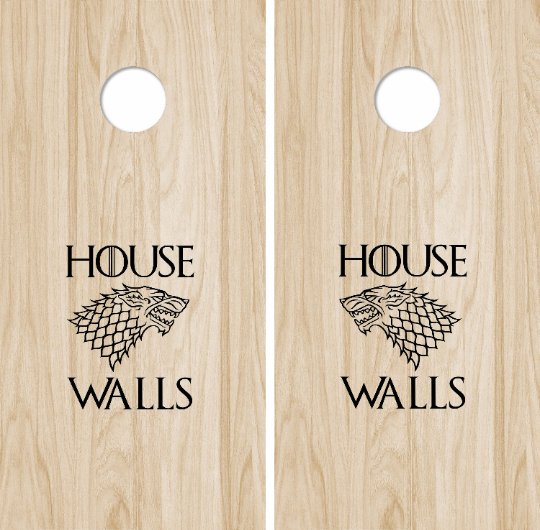
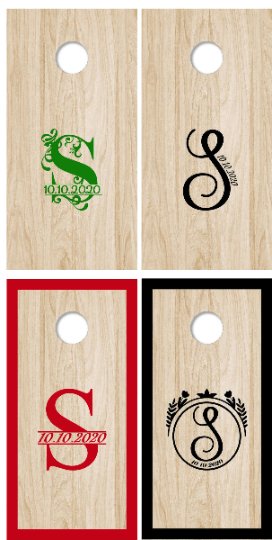
CUSTOM Cornhole Decal set - your personal artwork/design
CUSTOM Cornhole Decal set - your personal artwork/design
Regular price
$48.00 USD
Regular price
Sale price
$48.00 USD
Unit price
per
Couldn't load pickup availability
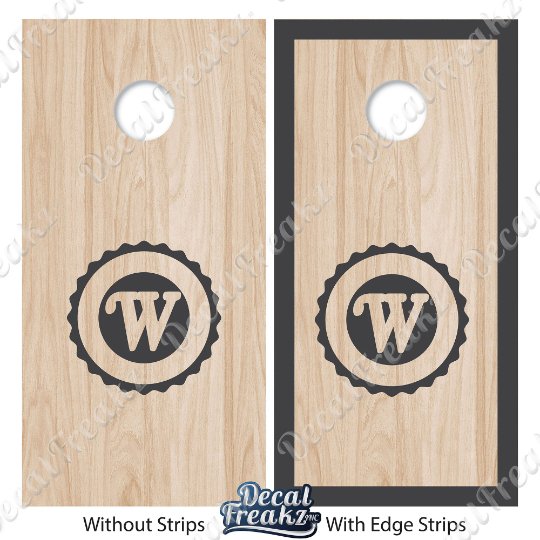
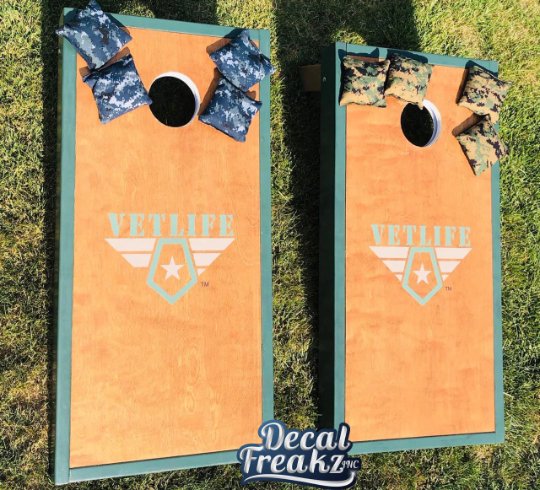
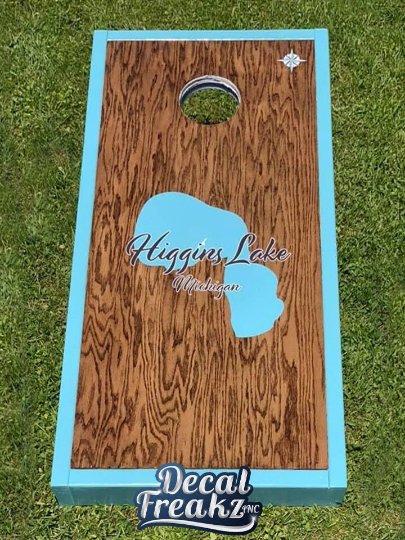
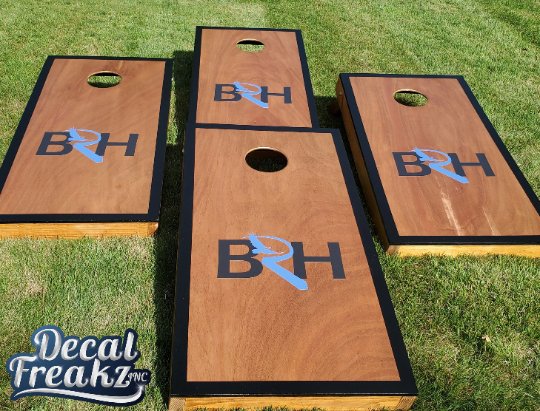
THIS IS FOR A SET OF STICKERS ONLY (2 stickers included) - NO BOARD OR COATING INCLUDED - ALSO PLEASE BE AWARE SOME OF THE MOCKS PICTURED HAVE PAINTED EDGES, NOT OUR STICKER STRIP
This is a basic sticker, without any lamination to protect it from the elements. It is advised (for the material's longevity) to seal in with a couple of coats of Polyurethane.
The standard kit only includes the 2 custom stickers (sized at 15" on the longest side).
The Edge Strip kits also contain 4 stripes, all approximately 2"w and set to fit regulation 2'x4' boards.
.ai or .eps vector artwork is preferred. Some jpegs may be acceptable if they are high enough quality. If you are unsure if your artwork is going to work, please feel free to send us a message including your artwork first.
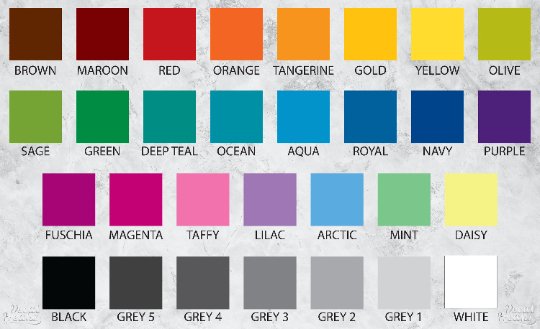
Strips are available in many different color options (please inspect the color chart in images, the print might vary slightly from your screen image color)
All pieces included will be separate sticker pieces with backing, they will not arrive all in one square.
**We are not responsible for the loss of decals that are personally installed.**
Works well on – Walls, Glass, Plastic, Tile, Metal, Painted wood (after 3 months), and other smooth services.
Transfer tape/Application Mask will be on each decal ordered, for an easy transfer. (stripes will not have application mask)
~~~APPLICATION DIRECTIONS:~~~
1. Clean the surface area where the decal will be applied with alcohol and water. (This is a DRY install so please do not spray 'bare' wood before install, just be sure area is clean from any debris and sawdust that will affect the sticking).
2. Adhere the extra strip of application mask on top of your decal, to establish the exact location.
3. Measure location to make sure decal is center and straight (measure from the actual decal, not the paper backing. It is not guaranteed that the paper will be straight).
4. Slowly remove the paper backing, starting with the top, while smoothing the decal side to side with a scraper or credit card.
5. Apply the decal to your surface and smooth (again) with a credit card.
6. Remove the application mask carefully. Some areas may need to be scraped down again.
**When placing the decal on a vehicle, try to place out of the way of the vehicle wipers. Wiper blade use over a decal can lift edges causing moisture to get underneath and lift/ruin your decal.
*Absolutely NO POWER WASHING or high pressure washing over the decal once installed. This can also cause edges to lift and the moisture will ruin the adhesive under the decal.
You will be provided with these instructions also in your package, and a small sample vinyl decal to practice the application with.
This is a basic sticker, without any lamination to protect it from the elements. It is advised (for the material's longevity) to seal in with a couple of coats of Polyurethane.
The standard kit only includes the 2 custom stickers (sized at 15" on the longest side).
The Edge Strip kits also contain 4 stripes, all approximately 2"w and set to fit regulation 2'x4' boards.
.ai or .eps vector artwork is preferred. Some jpegs may be acceptable if they are high enough quality. If you are unsure if your artwork is going to work, please feel free to send us a message including your artwork first.
Strips are available in many different color options (please inspect the color chart in images, the print might vary slightly from your screen image color)
All pieces included will be separate sticker pieces with backing, they will not arrive all in one square.
**We are not responsible for the loss of decals that are personally installed.**
Works well on – Walls, Glass, Plastic, Tile, Metal, Painted wood (after 3 months), and other smooth services.
Transfer tape/Application Mask will be on each decal ordered, for an easy transfer. (stripes will not have application mask)
~~~APPLICATION DIRECTIONS:~~~
1. Clean the surface area where the decal will be applied with alcohol and water. (This is a DRY install so please do not spray 'bare' wood before install, just be sure area is clean from any debris and sawdust that will affect the sticking).
2. Adhere the extra strip of application mask on top of your decal, to establish the exact location.
3. Measure location to make sure decal is center and straight (measure from the actual decal, not the paper backing. It is not guaranteed that the paper will be straight).
4. Slowly remove the paper backing, starting with the top, while smoothing the decal side to side with a scraper or credit card.
5. Apply the decal to your surface and smooth (again) with a credit card.
6. Remove the application mask carefully. Some areas may need to be scraped down again.
**When placing the decal on a vehicle, try to place out of the way of the vehicle wipers. Wiper blade use over a decal can lift edges causing moisture to get underneath and lift/ruin your decal.
*Absolutely NO POWER WASHING or high pressure washing over the decal once installed. This can also cause edges to lift and the moisture will ruin the adhesive under the decal.
You will be provided with these instructions also in your package, and a small sample vinyl decal to practice the application with.